I love taking old furniture pieces and giving them new life. Spray paint is an easy way to do just that!
It’s fun to poke around yard sales or flea markets to collect old pieces. In this case, my dad’s old dresser had been sitting untouched in my parents’ basement for years. My brother, a recent college grad, didn’t have much money for new furniture, so we decided to update my dad’s old dresser for him.
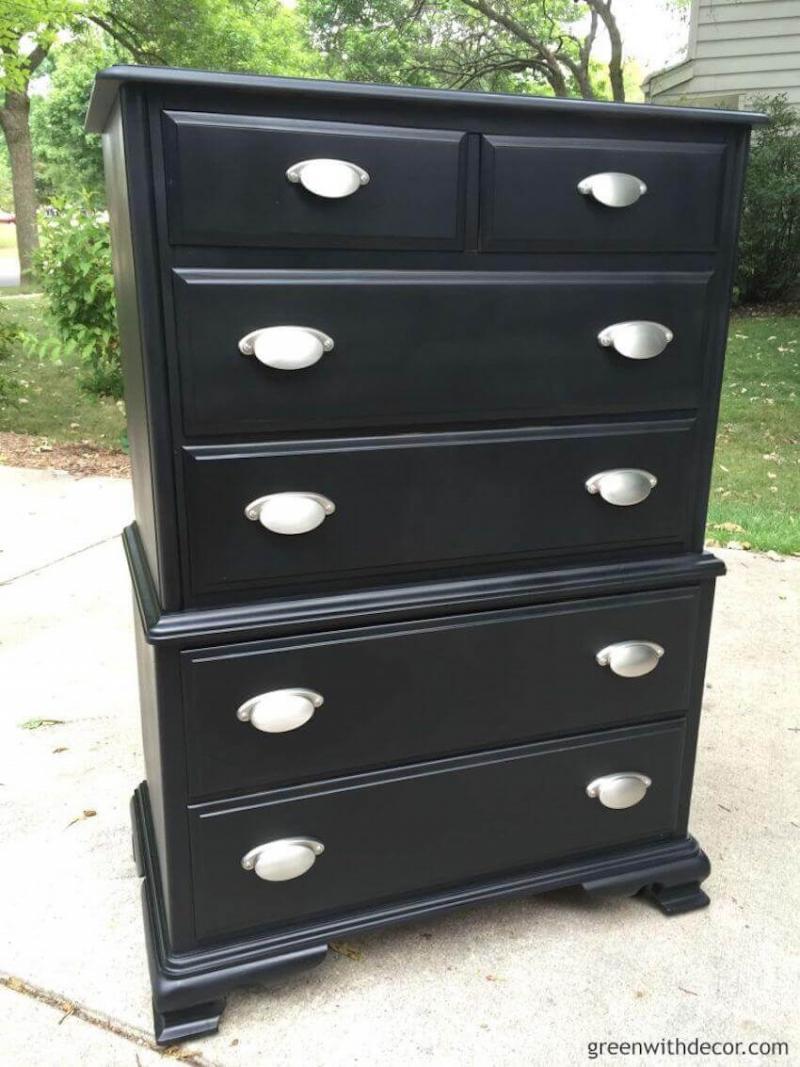
Here’s a look at the dresser before and after:

Isn’t it crazy what a difference a few coats of paint and some new hardware can make?!
The piece was a great size, very sturdy, and in good shape. It just looked a bit outdated!

Want to do something similar to an old dresser or furniture piece? Gather these supplies:
Tarp
- Black spray paint
- Sandpaper or soft scrub sponge
- Painter’s tape
- Newspaper
- New hardware
This was an easy makeover, and the directions apply for most furniture pieces. Try it for yourself!
You don’t want spray paint getting on your driveway or whatever surface you’re painting on.
Be sure to paint in a well-ventilated area. I usually spray paint outside.
There were a few scratches on the top of the dresser. If you have a scratched piece, use some sandpaper or a soft scrub sponge to buff out the scratches.
Sanding a piece will also help it absorb the paint better.

A quick once-over with a damp cloth gets rid of any dirt or dust on the piece. You wouldn’t want to spray paint any dirt right onto the dresser forever!
The hardware on my dad’s dresser wasn’t in bad shape, but my brother wanted more of an updated look. I can’t blame him!
In general, hardware is an easy, and often cheap, way to update the look of a piece or even kitchen cabinets.
This step is definitely up to you. If you tape off the finished dresser, you’ll end up with a more finished look.
If you don’t care what the inside of the drawers looks like, feel free to skip this step and go right to painting.
I’ve done it both ways. Often, it just depends how much time (and patience) I have. For this dresser, we used tape and newspaper to protect the inside of the dresser from getting painted.

Move the paint can back and forth. Keep the paint can moving so there aren’t any drip marks. I often begin at the bottom of a piece and slowly make my way up to the top.
This way, the paint will hit the drawers evenly. You don’t want any drip marks or darker spots on the front of the piece.
Again, you can tape off the sides of the dresser to keep them from getting any spray paint on them, or you can skip that since you’re really the only one that will ever see the sides of your dresser drawers!
A second coat ensures the piece looks finished.
- Place the dresser on an old tarp.
- Sand the dresser
- Wipe down the dresser
- Take off the hardware
- Tape off what you don’t want to be painted
- Paint!
- Face the drawers up
- Let the paint dry; apply one more coat
- Put on the new hardware
We went with silver hardware. I love how it pops off the dark black dresser!
I love styling a piece after I finish painting it. Furniture always looks a little better with some accessories!

Have you used spray paint or new hardware (or both) to update a furniture piece? I’d love to hear about it! Share on our Facebook page!
This article was written by Meg Hemmelgarn, the home decor blogger behind Green With Decor. Meg loves renovating and decorating, white woodwork, throw pillows and, of course, the color green. She believes everyone can make their home into a space they love, even on a budget, by getting creative in how you use a space, shopping around and tackling some DIY projects. Find Meg on Facebook, Instagram, Twitter, Pinterest and Google+.
