A lot of homeowners planning kitchen remodeling projects are discovering how time-consuming and budget-breaking their new kitchen can be and are looking into a number of different methods to help keep the work as inexpensive as possible while still receiving the style, quality, and reliability that should be expected from any home remodeling project. If you find yourself in a similar situation then cabinet refacing is the exact service you need to ensure affordability and elegance all in one. This project is quickly and affordably completed and (with our step-by-step guide) can be tackled without having to rely on professional cabinet refacing contractors!
Step 1: Planning your Kitchen’s New Look
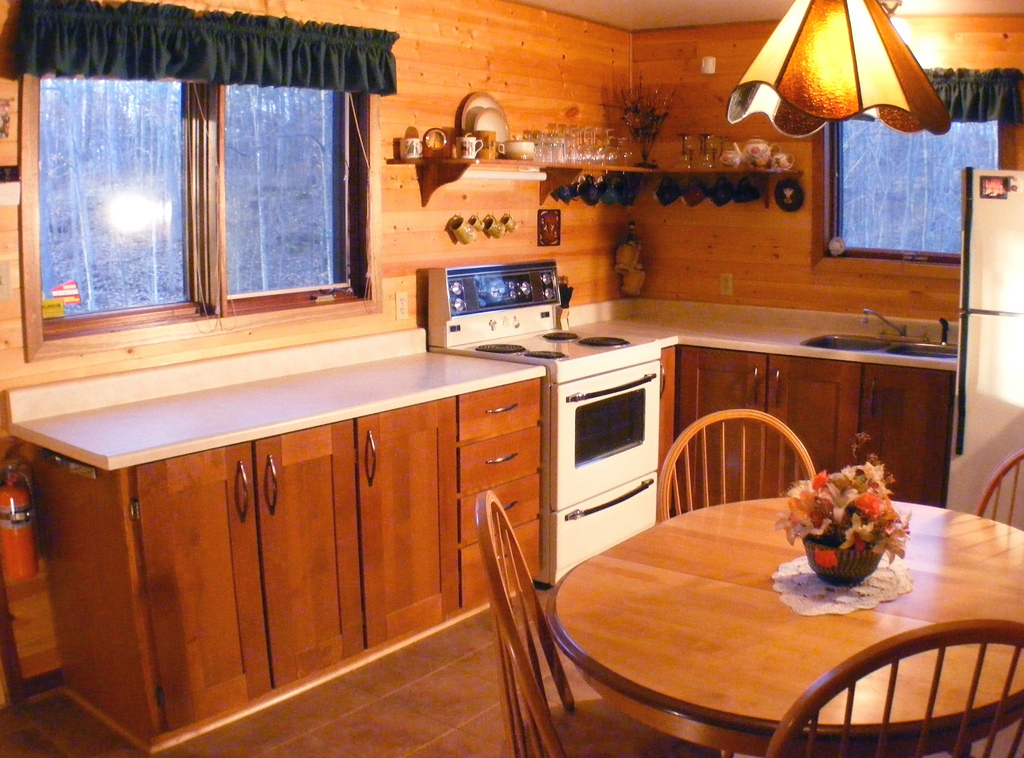
The look of your kitchen cabinets play a major role in the look and feel of the room as a whole so before you grab your sander and stain, look into the different styles of cabinets you could choose from for your new kitchen.
Step 2: Preparing the Cabinet Faces
When you have a solid idea of the paint, stain, or sealer you’re planning on using for your cabinet refacing project carefully remove the drawer faces and cabinet doors from the rest of their units and then remove the hardware from these pieces. Be sure to keep these items organized to make the reassembly process as easy as possible. When you’re left with the cabinet faces alone clean them with a mixture of water and mild cleaning chemicals to get the surfaces ready for stripping.
Step 3: Sanding and Stripping the Wood

Once your cabinet faces are clean and placed in a well-ventilated area thoroughly sand all of their surfaces to remove the paint, stain, or sealant that was last applied to them. The quality of sanding will be directly tied to the quality of the final results since any rough or uneven spots will be highlighted by the new application. We advise you to use a powered hand sander with rough sandpaper to start and finer and finer sandpaper to finish.
Step 4: Repair any Dents or Scratches
Use wood putty to fill in any annoying dents or scratches and re-sand the tops of these spots. This will ensure that the final results of your cabinet refacing are smooth and elegant without blemishes or flaws.
Step 5: Seal your Cabinet Faces
It may not seem it but wood is a very porous material which can expand and contract significantly over time. By applying a wood sealer to your bare cabinet faces and drawer faces you are creating a more secure base on which to stain or paint. This is beneficial for a number of reasons not least of all is that a well applied wood sealer will keep the beautiful results of your do-it-yourself cabinet refacing at their very best for much longer.
Step 6: Stain or Paint Application
Depending on the type of wood your kitchen cabinets are made from you may see a more reliable and stylish finish with stain or paint. Typically, hardwood cabinet refacing is performed with stain while softer woods and fiberboard are best painted since stain has a harder time reliably adhering to them. In either case, begin applying your new color with smooth, even strokes so as to keep the final look of your kitchen cabinets from becoming distracting or lessening the value of your home’s kitchen.
Step 7: Protect your Work

After your paint or stain has dried and is the exact shade you’re looking for it’s worthwhile to protect the quality of your results by applying a thin but solid coating of varnish over all the surfaces of the cabinets and drawers. Ideally this should be done promptly after the stain is dry and it should be completed in a dust-free environment to keep bumps and ridges from appearing underneath the clear coat.
Step 8: Accessorize and Reassemble
As the varnish dries on your drawer faces and cabinet doors it’s wise to consider your options for hardware accessorizing. If the handles and drawer pulls don’t accent your new kitchen remodel then it’s an easy and simple task to find ones that better due at a local hardware store. When you've decided on the hardware that best suit your rooms new needs and style you can reassemble the pieces as they were prior to being removed. This done, you’re free to sit back and enjoy the look and feel of your new kitchen.
