Halloween is coming and carving jack-o-lanterns is a must! We all see the pumpkins for sale any time you go to any grocery store and the fall decorations at craft stores. So, to get you in the mood for some fun decorating, here is a step-by-step how-to so you can easily learn how to carve one and make it last through the whole season!
Step One: Choosing the Pumpkin
You might be thinking: “Why is this a step? Can’t I just pick the first one I see?” Well, if you want your pumpkin to last longer, you have to be picky to get the best one possible. First, look at the color of the stem: the greener, the better. Then, take a look at the stem’s size: when it is thicker and bigger, it usually indicates that the pumpkin is heavier and has thicker walls, which is better for carving and sculpting. Ignore the pumpkins with no stem, it indicates it has been handled a lot. Or if it is dry and brittle, it means it has been sitting around for quite a while.
Step Two: Wait to Carve

Pumpkins can last a long time after buying them, but once you stick a knife in it, it starts decomposing. Wait until at least two or three days before the day you want to display them, to ensure that they stay fresh. Pumpkins can last either a few days or even weeks, you can apply all these tips to make it last more, but there’s no way to tell exactly how long they’ll last.
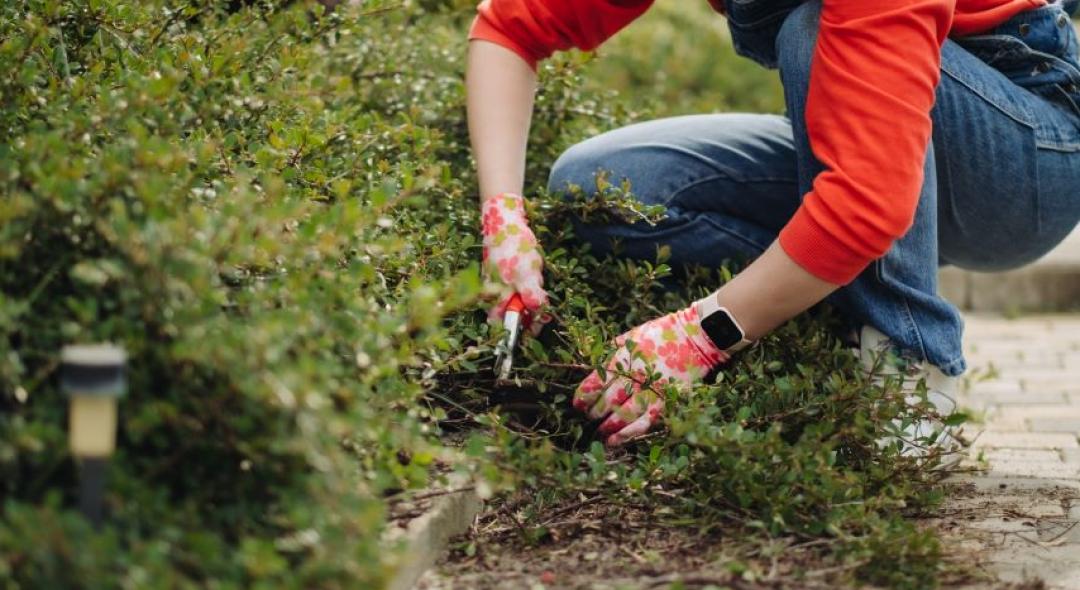
Step Three: Place and Materials

To start carving, choose a place where it is easy to clean. It can be in the garage with the floor covered in newspaper, on the kitchen counter, or on the dining room table covered with a vinyl tablecloth. Then, gather your tools:
- 1 pumpkin
- 1 medium knife
- 1 medium spoon
- 1 medium bowl
- 1 marker
- 1 small knife or different tools to make the front design
- Something to light the interior, like an LED candle
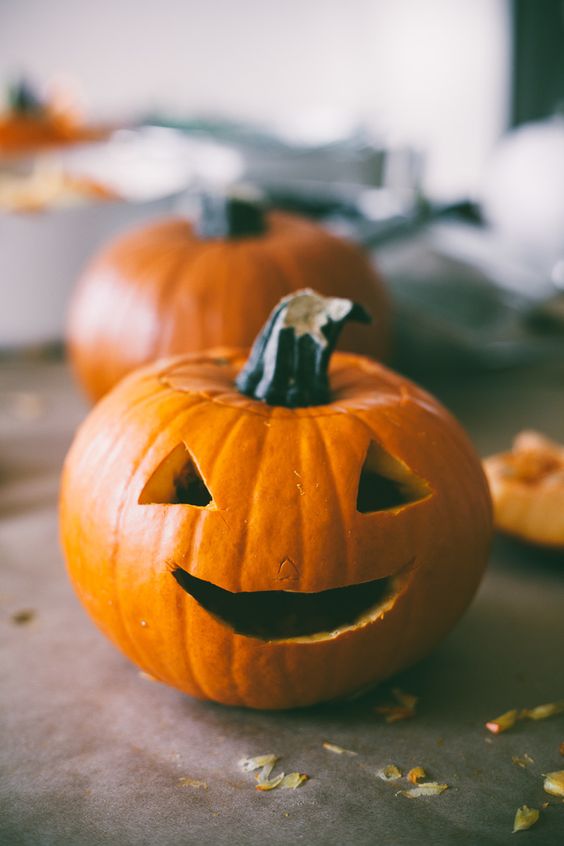
Step Four: Making the Big Cut

The most common way of carving a pumpkin is by starting with the stem and cutting it out. The stem is what keeps the pumpkin fresh, supplying nutrients and moisture until it dries out, so try it differently this time. To make your jack-o-lantern last longer, make a cut in the back of it instead. Cutting out the bottom is a no-no: the liquid in the pumpkin walls may start to ooze out and make a mess.
Step Five: Scooping Out
Using the spoon, scoop out the seeds and pulp of the pumpkin, every last piece of it. Don’t leave any bits behind: it can start getting moldy and spread to the walls. Making the walls thinner is also a good idea: it usually makes it last longer before starting to break down.
Step Six: Sketching the Design

Have the front design ready beforehand, either laid out in your head or actually drawn on a piece of paper, to make the process quicker and easier. You can make it old style by cutting out two triangles and a toothy grin, using a small knife, or make a more elaborate design using different tools like paring knives, lemon zesters, rasps, exacto knives, etc. Let the creativity flow!
Step Seven: Lighting It Up
To light the jack-o-lantern we normally use candles, heating up the inside. Although it makes it smell great, it does not help to make it last longer because it accelerates the decomposition process. It’s best to use LEDs or CFLs - they’re really bright and don’t give off heat.
Step Eight: Keep It Cool

To make the piece last longer, it’s best to keep it cold. You’re already helping it by using LEDs or CFLs instead of candles, but to cool it even more you can leave it in a cold place during the night, like near a window or on the garage floor. If you live in a warmer climate, you can place it inside the fridge wrapped in plastic wrap.
Other Tips to Make it Last Longer

- Use Silica gel. You can use silica gel to remove excessive moisture from the pumpkin and make it last longer. Find a silica gel packet (you may have some laying around in shoe boxes or recent purchases, if not you can buy online in bulk for cheap), open it and place some beads inside the pumpkin (using a glove, just to be safe), embedding it into the interior walls. Just be careful not to leave any lying around pets or small children, as the product can be toxic.
- Use bleach. Dunking the carved pumpkin in a solution of 1 teaspoon of bleach per gallon of water can help it last a few more days. Leave it soaking for 8 hours, pat dry it with paper towels and then spray it once a day with the solution.
- Use petroleum jelly. A different way of making it last longer is by coating all cut surfaces of the pumpkin with petroleum jelly, immediately after being carved. This helps by sealing the internal moisture in, slowing down the dehydration process. If you can’t coat the whole inside, at least give the design a light coat.
- Pumpkin preserver. Acquire a spray-on pumpkin preservative online or at a Halloween specialty store to fight off mold and decay, and use it every day.
What do you think of these tips? Do you know any other ones? Comment below and check out our Facebook page for more cool ideas!