You don’t need a photography course to take good project pictures.
In fact, the fundamentals of good photography are very easy to grasp and understand. Remember, we’re not talking about artistic or professional photography — there’s a reason they have college for that.
All you need are simple tips you can easily remember and apply next time you’re taking a project picture.
There’s no need to dive into professional photography jargon. Most people only use their phones to take pictures, and for a very good reason — even the cheapest iPhone on the market right now has a fantastic camera. So there’s no reason to be intimidated.
Simply follow these 5 tips and your project pictures will be much better from now on!
1. Learn how to frame properly

Framing is how you direct the viewer’s focus to what is most important. In your case, you want to show the work you’ve done, so the focus should be solely on that.
Look at the example above: the first image looks decent, but the sky (not important) is taking attention away from the main focus (the house). The second image is better because the focus is solely on the house.
Here are some tips to achieve better framing:
Use the four point grid on your phone. The only grid you need to worry about is the four point grid. Every phone has the option to turn it on so you can see four lines and the four points where they meet — traditionally, the focus of the photograph should be across the lines, or where they meet (check the image above for a great example).
Avoid tilted angles. Try to keep the line of the horizon parallel to the bottom of the frame as much as possible, otherwise your picture will feel “drunk.” The four point grid mentioned above will help you keep the lines straight.
Crop instead of zooming. In every phone you can “pinch” on the screen until you have the subject in focus. While this “cuts” unnecessary things from the frame, it can greatly reduce the quality of the image. Instead, first take the picture (even if there’s something you want to cut) and crop it later in your photo editor — this way you can always revert back to the original picture when needed.
To sum it up:
Populate the frame with what’s important and leave out what isn’t.
2. Take a moment to arrange the shot
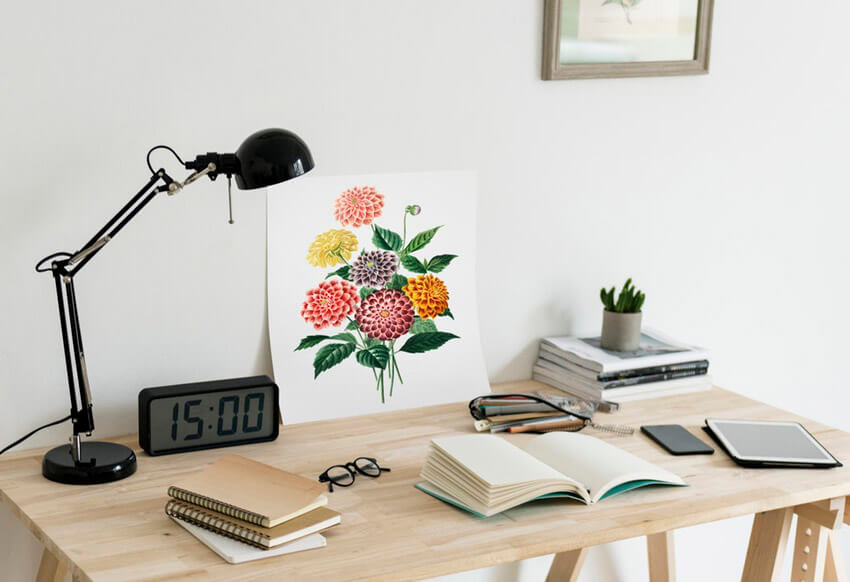
One of the secrets to a great project pictures (or any picture for that matter) is taking a moment to arrange the shot. Check out the example above: you see pictures like this on Pinterest and Instagram all the time. These objects were not “accidentally” arranged this way.
Imagine if this picture had random documents, a glass of water from last night, a coffee ring on the table, and two chargers and their wires. Wouldn’t look so nice and neat, would it?
For you, arranging the shot means taking away everything that doesn’t belong — tools, materials, dirt, clutter, and even people.
So while you’re framing, look at the image on your phone and ask yourself:
“Is there something in the frame that doesn’t need to be there?”
If it’s something you can easily rearrange or move, do it!
3. Flash should be used with caution
Generally speaking, you don’t want flash in your project pictures.
Ever.
The sudden burst of light creates too much of a disconnect with the real world: any reflective surfaces or metal objects will glare; dust particles in the air and over furniture may become visible; hard shadows might make the room look darker than it really is… overall, it’s a disaster.
For painting projects, for example, the flash can dramatically alter color, create huge reflections, and reveal imperfections on the wall — even if it’s matte paint.
Basically, flash can make something look ugly in the picture, even if it isn’t in real life.
So disable automatic flash on your phone. Only use it as a last resort.
4. Good lighting is everything
Photography is called the art where you “paint with light” for a reason.
There are literally books written on this subject alone, but let’s keep it simple — here’s what you need to know:
Natural light is your best friend. Sunlight, whether you’re outdoor or indoors, is the best source of light at your disposal - it’s abundant and it’s free. The only downside is that you can’t control it, so...
Look out for “hotspots”. Spots of light, like light bulbs, lamp posts, or direct sunlight should be kept out of frame — they make it really hard for your camera to automatically find the right balance between light and dark.
Tap on your screen to adjust lighting. Nearly every smartphone camera works like this — simply tap on a spot and the camera will adjust focus and lighting accordingly. If it’s still not looking good, tap and hold on that spot to control light exposure simply moving up and down.
And still on the subject of light, let’s talk about HDR.
5. HDR can help you
Every smartphone camera nowadays has the HDR feature (High Dynamic Range) and it basically helps you get better pictures when the lighting is weird.
And it’s automatic.
Try it yourself: point the camera to a spot near an open window during the day. Depending on your framing, the camera will try to either adjust for outdoors and everything indoors really dark, or adjust for indoors and make the light coming from the window extremely bright.
HDR automatically smoothes these extremes. Try taking some picture with it on and off to notice the difference — since you can’t control natural light, it can help you get better pictures when light conditions are against you.
And one last thing…

Photography is trial and error.
It’s surprising how people still believe in the myth professional photographers can just set everything up, take a single awesome picture, and call it a day.
This couldn’t be further from the truth — getting one good picture can take hundreds of clicks.
In your case, you don’t have to go that far — but if your first picture didn’t work, take another one. Try different angles, different framing, tweak the lighting on your phone, and keep clicking — you don’t have to worry about film, so feel free to take as many pictures as you can.
Remember: It’s better to take many bad pictures and find a good one, than just taking a bad one.
Want to grow your business? Sign up with homeyou and start receiving leads for jobs that will make you money today!


Comments