With the right steps to the whole-house fan installation, you will have no trouble doing it. Select the right fan, determine the location, measure and cut the opening, install the fan and ductwork, install a ceiling grille, connect the wiring, ensure attic ventilation and waterproofing, test, and enjoy!
For precise instructions on whole-house attic fan installation, read this article, it gathers all the information you need: from how to install a whole-house attic fan to an explanation about its price and about who does the job! Start reading now and become familiar with the process.
How To Install A Whole-House Fan: 10 Key Steps To Follow
Installing a whole-house fan can be done in 10 basic steps. They are listed and detailed below for you to understand and carry out properly. Take a look and improve the indoor air quality of your home!
- Begin by choosing the appropriate whole-house fan for your home. Consider factors like the size of your living space, attic space, and your climate. Whole-house fans come in various sizes, so ensure you pick one that suits your needs.
- Identify the ideal location in your home for the fan. It is typically installed in the ceiling of a central hallway or at the top of your stairs. It has to be centrally located to distribute air effectively.
- Measure the size of the fan and cut an appropriately sized hole in your ceiling. Make sure to follow safety precautions, like turning off the electricity before cutting.
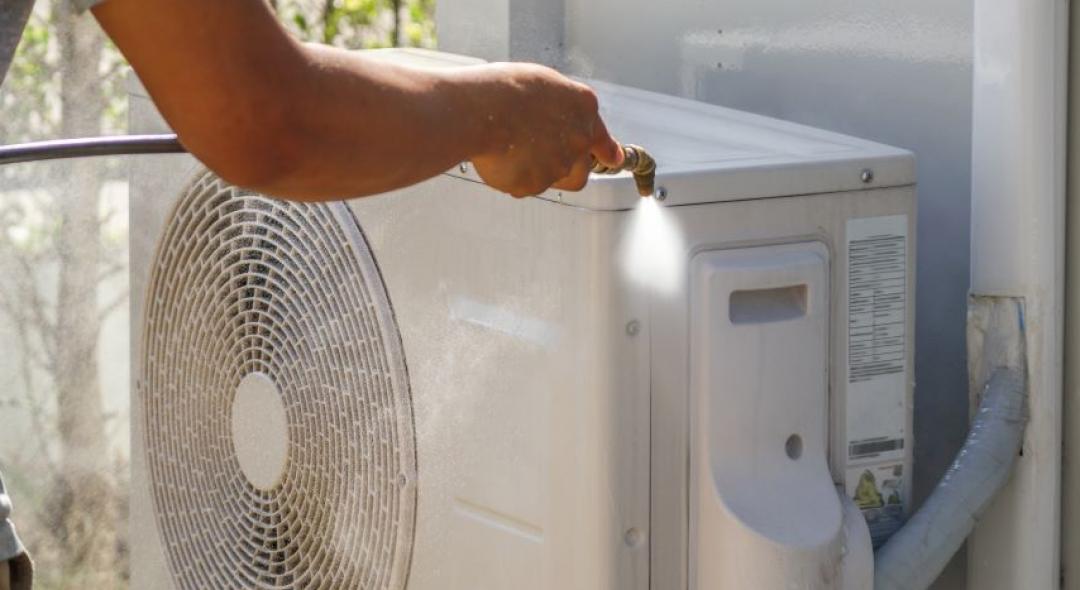
- Secure the fan in the opening and connect the ductwork to it. This ductwork will run to the attic to expel hot air outside. Proper sealing is crucial to prevent any energy loss.
- Attach the ceiling grille or vent cover. This will help direct the airflow and protect the fan from dust and debris. Don’t forget to choose a grille design that complements your interior!
- Connect the fan to a dedicated circuit and install the necessary controls. You can opt for manual switches or more advanced thermostats to automate the fan operation.
- Ensure there is proper attic ventilation. You may need additional vents or roof vents, such as roof soffits, to prevent heat buildup in the attic.
- Seal any gaps around the fan and ductwork to prevent air leakage. Proper insulation and sealing are key to maintaining energy efficiency.
- Test the fan before closing up the installation to ensure it operates correctly and efficiently. Make any necessary adjustments or repairs.
- Once everything is in place and tested, enjoy the benefits of your whole-house fan. Feel the refreshing, cool air flowing through your home, and relish the savings on your energy bills.
Ready to begin your DIY whole-house fan installation project? Before rolling up your sleeves and getting it done, let’s take a look at prices and service options.
Who Installs Whole-House Fans?
You have two options: you can install a whole-house fan yourself if you are handy with tools and wiring, or you can hire a professional HVAC contractor for a seamless installation. The choice depends on your comfort level and the complexity of your centric air whole-house fan installation.
However, no whole-house fan installation is more likely to be successful than the one homeyou’s HVAC contractors will do. Do not hesitate to call them to have your home properly ventilated and comfortable.
How Much To Install A Whole-House Fan?
The whole-house fan installation cost varies based on factors like the type of fan, the size of your home, and whether you choose professional installation. On average, professional installation can range from $ 500 to $ 1,500, but DIY installation costs will be lower, consisting mainly of the purchase price of the fan and any additional materials you may need.
Think about the choice that best suits your needs and enjoy the cool breeze of a well-ventilated home. You deserve it!